Hey Crafty Friends,
I'm so excited to be here today to share with you a project as a guest designer for Pear Blossom Press. Today's card will feature the EZ Lights, watch this space for another project I will be sharing soon using the new Halo Lights!
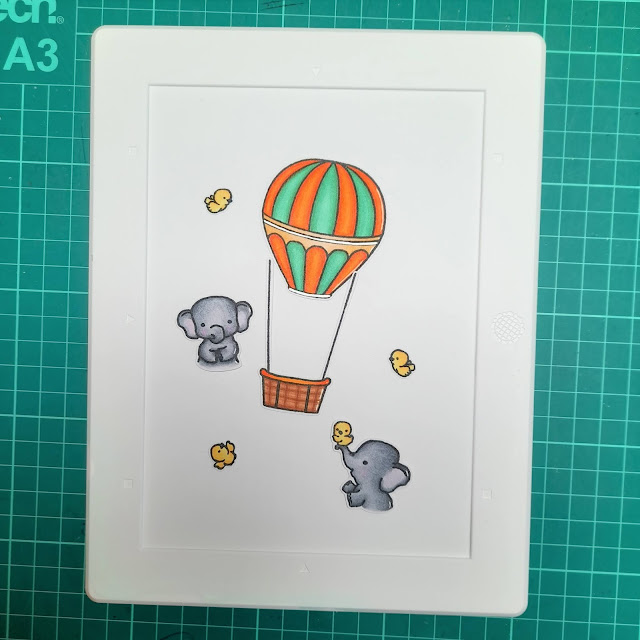
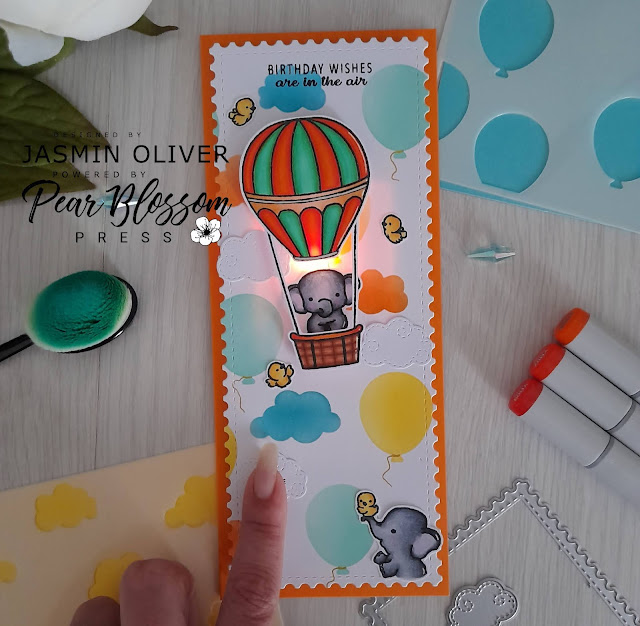
I've always dreamed of taking a hot air balloon ride, maybe I'll get there one day! For now I will have to live vicariously through this adorable up, up and away stamp set by Kraftin Kimmie.
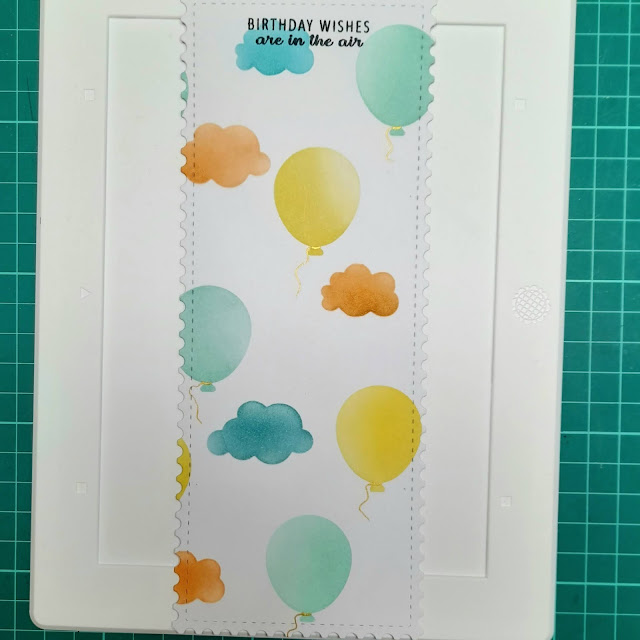
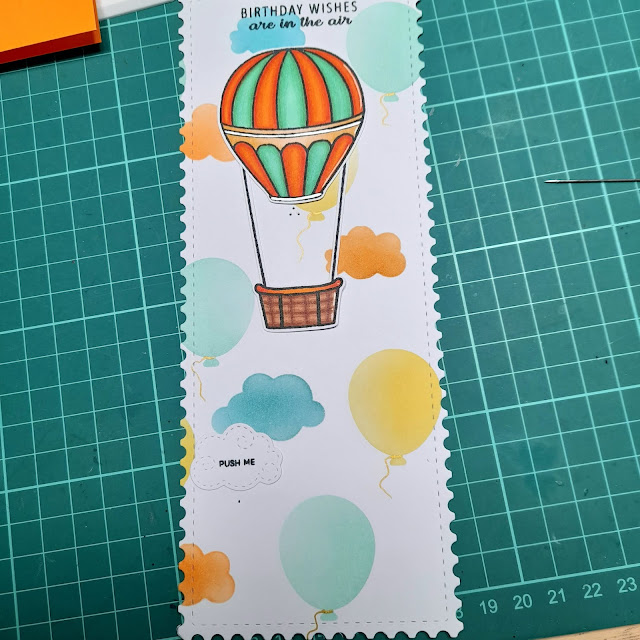
Next up I took 2 of my favourite stencils from my stash, both Heffy Doodle, head in the clouds and balloon room. Whilst these are 6x6 stencils due to the layout of them they work great with slimlines and other shaped cards as they are easy to layer up! I've used a variety of Distress Inks to give a colourful background and die cut the panel from Heffy Doodle Slimline mini mail dies. I've used the Pear Blossom Press gold gel pen to add string to my stenciled balloons. For my press button for the lights I am going to use swirly clouds as they will fit nicely with my theme, I've cut 3 - I personally do these things in odd numbers as they seem more appeasing to the eye! On just one of my stitched clouds I have printed the word 'press me' using the Heffy Doodle interactively yours stamp set.
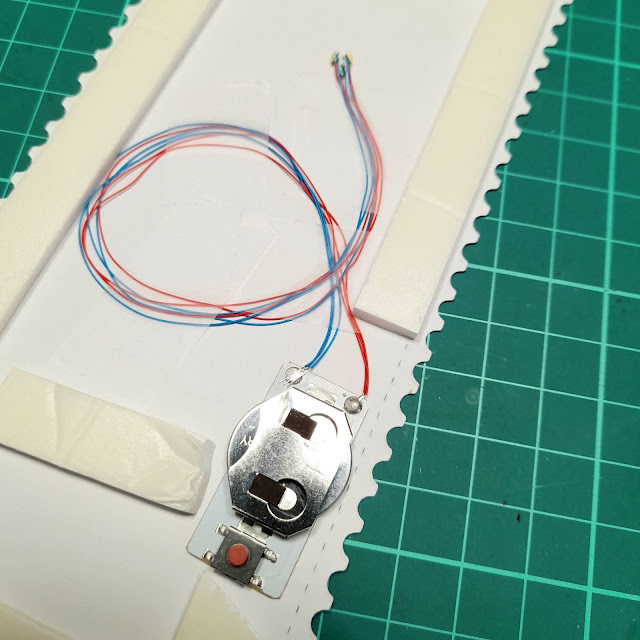
Now I've placed my hot air balloon and the cloud and layed them in rough position of where I want them and then using a pokey tool of some sort (I have used a needle from my sewing kit!) make small insert holes where your lights and button are going to need placing, this will help you align them properly from the back without it being too complicated! The EZ Lights have 3 lights attached to one battery, you can use them all or you can use just 1 and snip the others off that are not needed. I am going to use all 3 under my balloon to give it a real glow!
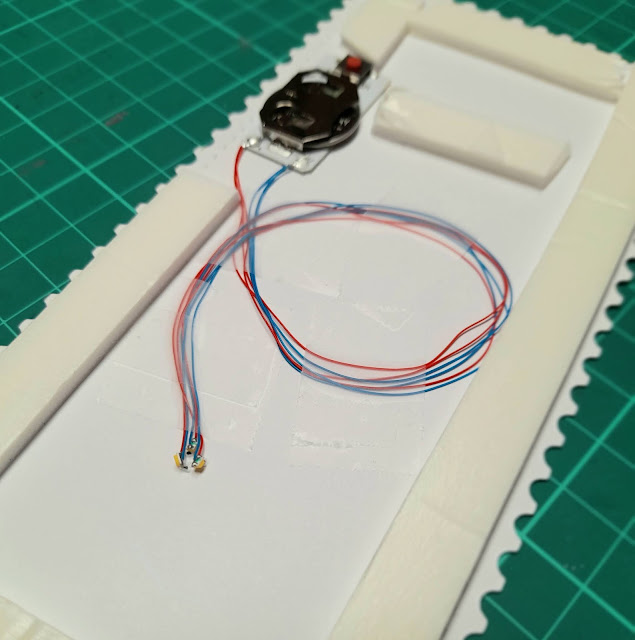
Now you have your marks of where you will need everything to go you can place your images to the side again and turn your panel over. We're now going to do the exciting bit! You have a button attached to 3 lights, firstly I like to secure my button in place so I am looking at the single small hole I made, on the flat side of the battery I am using double sided sticky tape to stick it down, I have doubled mine up for extra strength!
Next I need to fix my lights to the sections I marked towards the top of my card. I am using invisible scotch tape to hold it in place however any strong tape you have will work, I like the clear tapes in case your panel like mine is white/light you don't want the risk of darker tapes showing through your panel.
If you are doing a smaller card instead of a slimline you might find you have more excess wire hanging about, the trick is to gently loop it round so that is lays as flat as possible and use tape to keep it in place.
I've used foam tape around the edge of my panel and an extra piece by the button for additional strength, the Heffy Doodle foam tape gives a great depth and leave plenty of room between the card base and front panel to give a clean finished look.
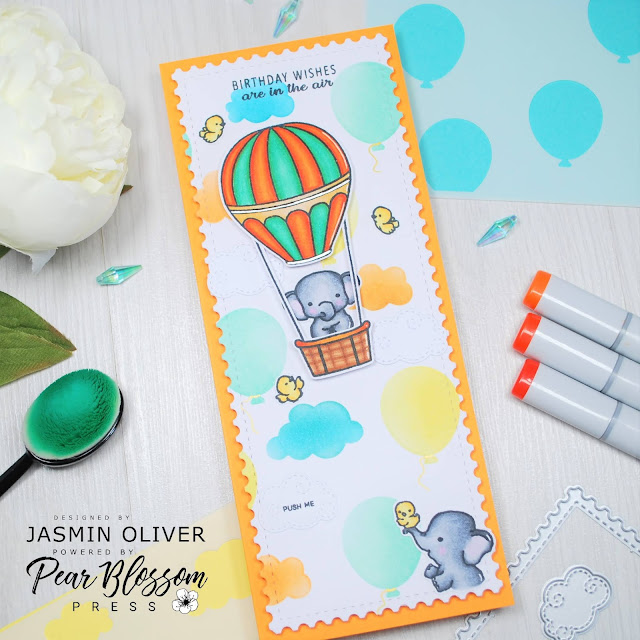
So here we have our adorable elephant taking a hot air balloon ride! I love the glow the lights give this scene, it's really sweet!
I will be back soon to share another card, until next time, happy crafting!
Jas
X
https://www.instagram.com/jasmincraftymakes
https://www.pinterest.co.uk/jasmincraftymakes/
Please note some links used may be affiliate links, if you shop using these links they are at no extra cost to yourself, I may receive a small commision to help with my crafting journey. Thank you for your support.


Comments
Post a Comment