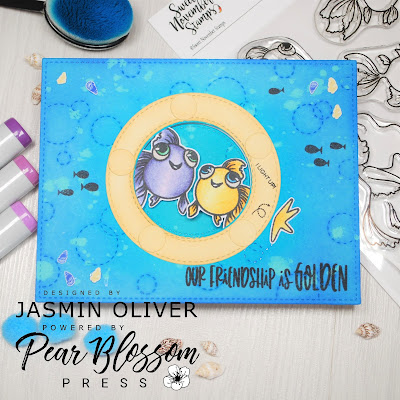
Our Friendship is Golden - Halo Lights!
Hey Crafty Friends it's Jasmin here from @jasmincraftymakes
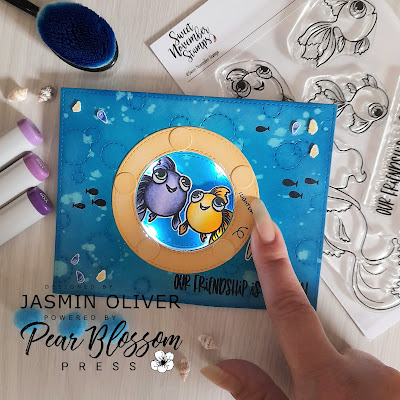
I'm excited to be back to share my 2nd post as Guest Designer for Pear Blossom Press, today's card feature's the Halo Lights. These are super easy to use and give that something extra to your projects! For this card I wanted to use a stamp set and sentiment that would relate to us all. I think all friendships in the craft world are golden! This stamp set is from Sweet November Stamps called Goldie, So let's get started! (Light up photo at the end of my post 🙂 )
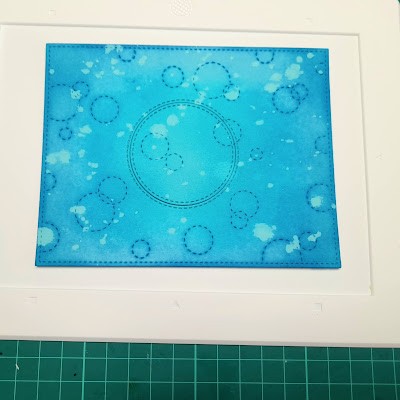
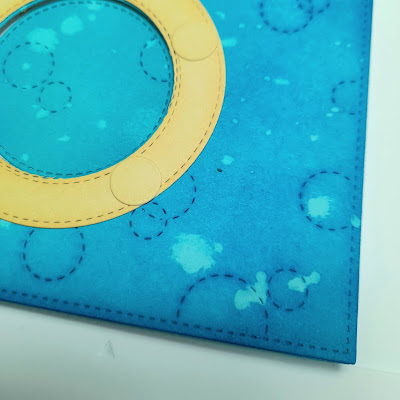
For my background I have used the Stitched bubble background die by Heffy Doodle, I started by inking up some coloured card stock. Using coloured card stock gives you a primed base for inking, for additional texture I flicked water to react the inks to give a splatter affect. Once I have cut the panel from the die I took a stitched circle die that was the same size or near as to the Halo Lights and cut this centrally from my panel.
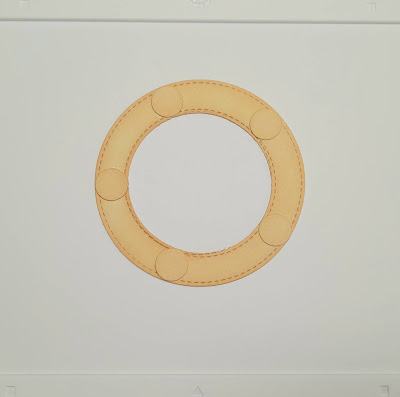
Before I start sticking anything together I have coloured my images and stamped my sentiment onto the front of my card base, stamping the sentiment or anything you need directly on the card before sticking it down allows for less mistakes later as I prefer to use foam tape which creates depth between the card base and front panel. I am also creating an element on the front of the card almost like a port hole, to do this I have taken the same size circle die as above as well as another from the same set that is 2 larger (skip the next one up in the set and take the next one). In my stash I have also taken a small circle and cut this 5 times and inked with scattered straw. Whilst this piece is not attached to anything I am going to go ahead and stamp an interactive sentiment from the Heffy Doodle Interactively Yours stamp set. (see pictures further down my post)
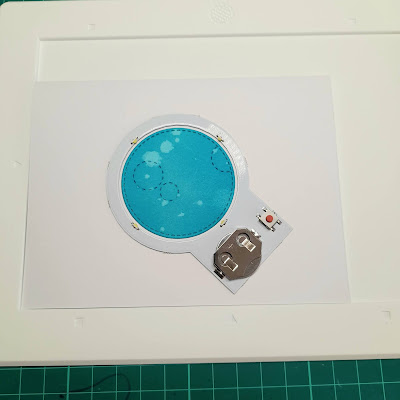
Now that I have all that ready I can go ahead and stick the light in place, to help me line up where it needs to be I am using the corner of my waffle flower media mat, you could use the corner of your stamping platform without the foam insert too. Firstly I lined up the top panel with the bottom and stuck only the central circle down in place for now. Put the rest of the top panel to the side and attach double sided sticky tape to the flat side of the Halo Lights, I've doubled mine up on the battery section for extra strength and place this around the middle circle. Now you can put your foam tape in place too ready for the next step.

One last thing before I go ahead and stick everything together, I need to make a small mark on the card front to show me where the button press will be, lining up the panel on top I have used a black pen to create a dot where the button is, this is because I will use an image to cover it up anyway!
Now I can attach the front panel to the card base, I've used my MISTI this time for alignment as it has deeper corners as we now have foam tape on our card! I can now attach my port hole view with the interactive sentiment pointing towards where I made my mark for the button press and attach my images in place, I've used a little starfish image for my press button. To finish up I added some sea shell clay pieces. I love how this came out and don't those fish look just mesmerised by those lights!
The links included here are mostly US based, please see below for UK suppliers on some of the items!
Crafty Hugs,
Jas
Please note some links used may be affiliate links, if you shop using these links they are at no extra cost to yourself, I may receive a small commision to help with my crafting journey. Thank you for your support.


Comments
Post a Comment