Pond Pals - Kraftin Kimmie
Today is our final day of Krafty Peeks for the February Release
by artist
Sabrina van Vloten called...
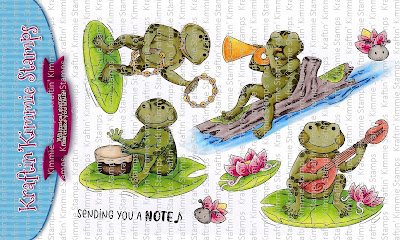
POND PALS!
Sabrina's musical frog friends are sure to bring a smile to anyone with their sweet melodies!
Of course today is also challenge day and as always during release week, it's Anything Goes! So create a card, scrapbook page, altered item, planner page....with some Kraftin' Kimmie Stamps products for your chance to WIN the monthly prize!
We can't wait to see your creations and you have one week to enter! Feel free to link up your creation at the bottom of this post and/or upload your pic to the folder in the Krafty Friends facebook group! You could WIN a gift voucher to the krafty shop!
Check out POND PALS in so many amazing creations today as you hop around the Krafty Team's blogs! You'll also see the new stencils, MUSICAL MELODIES and PERFECT POSTAGE, our new LAVISH LILAC hybrid ink and the beautiful FEBRUARY ADD ON BUNDLE along the way!
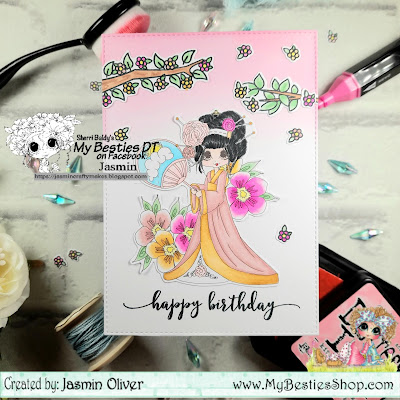
Card Recipe:
1. Take a stitched rectangle and start by inking a sky of shaded lilac from the top into a grass area at the bottom using mowed lawn, I've done nothing fancy with this blending as most will be covered up
2. Stamp desired images and colour in your favourite medium. I'm using copics.
Colour combination:
Frog & Fireflies - BV17, BV13, BV02
Leaf - G17, G14, G12
3. Take a tree die and use a woodgrain die over the top of the tree for added texture and ink blend using gathered twigs
4. Using the leaf part of the tree die cut it from a piece of card that's been cut using the same stitched rectangle as you did for the main panel. Ink up using lucky clover and rustic wilderness, rustic wilderness is a little darker so work around the top edges in creating a curve in the corners for a rounded blend and leaving a lighter middle. You can go ahead an stamp your desired image on the lighter area centrally at this point too.
5. To create the pond/lake area take an oval die and ink up using tumbled glass and mermaid lagoon around the edges, spritz with a small amount of water to react the ink and create texture in the pond
6. Now we have all the elements to put it together, I have started with attaching the top of the tree leaving an area slightly unstuck and the bottom so I can tuck my tree stumps under at the desired placing.
Stick the tree stump down using in your preferred position, I've gone to the left, don't worry about any overhanging you can snip this down later
Now take your Oval pond and stick down in position on the right hand side. Again don't worry about any overhanging as we can cut that straight off after. I'm not using the whole oval as you can see
Take a pair of scissors, turn your card panel over and cut along the panel edge to tidy up those overhanging pieces.
I hope you've enjoyed today's inspiration. Keep your eyes peeled for the extra blog hop tomorrow for your chance to win more krafty $$ to the store!
Jas
X
P.S don't forget your FREE to the card makers success summit.
There is also a chance to upgrade to get bonus content, snippet below!


What an amazing background!
ReplyDeleteGorgeous card and scene.
ReplyDeleteJust "Ribbiting"
ReplyDeleteI love the color of the frog. Thanks for including instructions
ReplyDeleteI love this little scene! Beautiful!
ReplyDelete