Special Delivery - Kraftin Kimmie
Today is our third day of Krafty Peeks for the February Release
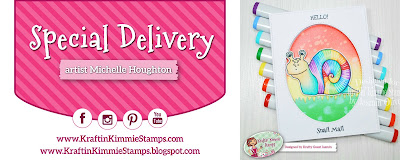
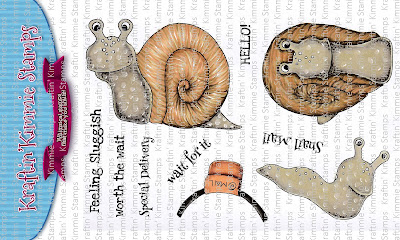
SPECIAL DELIVERY!
Check out SPECIAL DELIVERY! in so many creations today as you hop around the Krafty Team's blogs! You'll also see the new stencils, Add-Ons and hybrid ink along the way! Be sure to leave some love at each stop on the hop because there will be a giveaway for some krafty $$ to the shop!


Card Recipe:
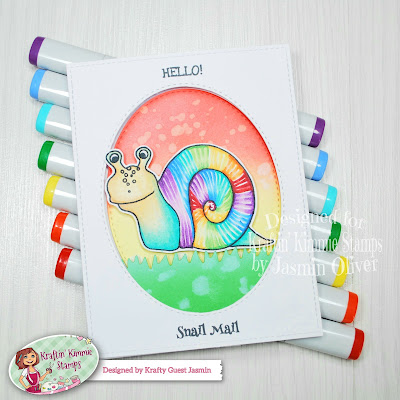
1. Take a stitched rectangle die cut from bright white card stock
2. Die cut centrally from the above panel with an oval die
3. Taking just the oval die cut blend down from the top with abandoned coral to about half way and then blend into squeezed lemonade. Spritz water on top to react the ink and add texture
4. Take a small piece of green card stock, I'm using kiwi crush and die cut a grass die to cut the top of this card. Ink blend over the top with mowed lawn. Spritz water onto this section too to add the same texture as the background.
5. Take your front stitched rectangle panel that you cut the oval from and using a stamping platform/block stamp your desired sentiment. I'm going this before attaching to a card base as I will be using foam tape for some depth.
6. Now I want to ensure my inked oval is central when stuck down so use the corner of your stamping platform or media mat and stick your oval directly onto a card base using the top panel (not yet stuck down) as a guide to keep it central
7. Take your grass piece of card and stick this to the front panel with your sentiment tucked behind so non neat edges are hidden and attached foam tape to the back of this panel, still it to your card base. You should now have some nice depth from the oval you inked up and the front panel
8. Stamp your image on card for your favourite medium. I am using copics
Chose your favourite rainbow colours in your stash to colour up this beautiful snail, try and leave a dash of white between each stroke and blend into the centre to create a highlight round the snail's body
Add your snail with foam tape too to help it pop!
I hope this card has brightened your day! I will be back tomorrow with more new release inspiration! Until then, happy crafting!
Jas
X
https://www.instagram.com/jasmincraftymakes
https://www.pinterest.co.uk/jasmincraftymakes
P.S we're less than a week away from the FREE card maker success summit. Make sure you have grabbed your FREE ticket. Join us now!


Such a happy card! I love the cheery colors, and thank you for the instructions on how to make a highlighted area :)
ReplyDeleteBeautiful colours!
ReplyDeleteSuch fun colours!
ReplyDeleteSo cute...love snail mail!!!
ReplyDeleteBeautiful colors
Beautiful colours! What a bright and cheerful snail!
ReplyDelete